Some links below are affiliate links. If you buy through them we may earn a commission at no extra cost to you. We only list tools we would use ourselves. How we make money.
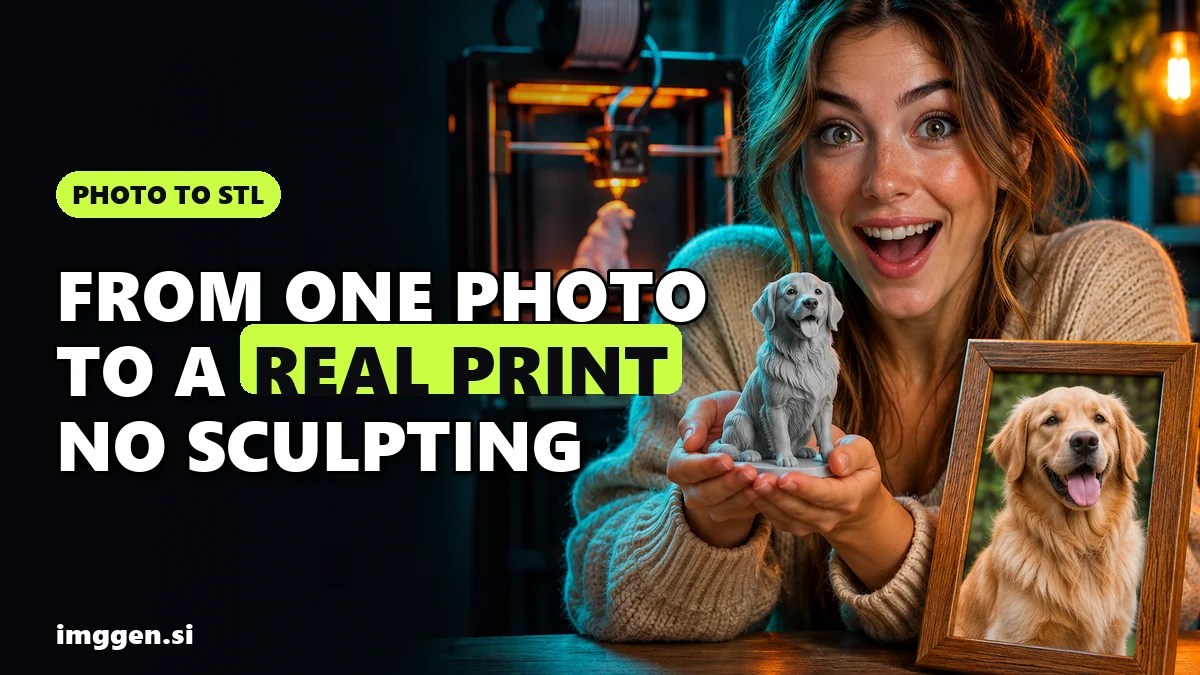
Yes, you can turn an image into a 3D model for 3D printing without sculpting anything yourself. Upload one clean photo (or up to four views of the object) to an image-to-3D generator such as Tripo, generate a high-detail mesh, export it as 3MF or STL, then check the size, the thin parts and any mesh errors in your slicer before you press print. Tripo says the generation itself takes about a minute. The checking afterwards is where your time actually goes.
Whether the print works depends on the photo you feed in and the checks you run afterwards, because a watertight mesh can still have walls too thin to print, no flat base and no real-world size. This guide covers both, plus which objects image-to-3D can't do at all. It is research from Tripo's pages, slicer docs and one published hands-on test, not a benchmark of our own, so you won't find invented success rates here.
Can you turn any image into a 3D printable model?
Not any image, and not for every purpose. An image-to-3D model looks at a flat picture and infers the depth, the volume and the back side it can't see. That works well when "looks right" is the goal and badly when "measures right" is the goal. Pick the route by what the print has to do:
| Route | Best for | Where it falls short |
|---|---|---|
| AI image to 3D (Tripo and similar) | Figurines, pets, busts, sculptures, tabletop minis, decor, concept models you want to hold | Exact dimensions. With one photo, the back is a guess |
| Photogrammetry or a 3D scanner | Copying an existing object as it really is | Needs many photos or scanning hardware, and scans often need smoothing |
| CAD modelling (Fusion, Onshape, FreeCAD) | Brackets, replacement parts, enclosures, anything that must fit something else | You design every dimension yourself; there is no photo shortcut |
| Lithophane generator | A panel that shows your photo when lit from behind | It is a relief of the picture, not a 3D object |
A replacement clip for your dishwasher needs CAD. Your dog as a 10 cm figure on the shelf is exactly what image-to-3D is good at.
What kind of photo makes the best 3D model?
The input image decides most of the result. Tripo's own guidance is short and worth following to the letter: it accepts JPG, PNG and WEBP, and "a clean background with one clearly lit subject produces the best geometry." Busy backgrounds, several subjects, heavy motion blur or extreme perspective reduce accuracy, and Tripo says cropping to the subject before uploading usually fixes it.
The photo checklist
- One subject, centred, with nothing touching it. A cat photographed on a sofa tends to come out fused to a cushion.
- Soft, even light. Hard shadows can be read as dents or holes in the surface.
- Camera at the subject's mid-height, not shooting down from above. Steep angles distort proportions.
- The whole object in frame, feet and base included. Anything cropped off has to be invented.
- Sharp focus. Motion blur turns into mushy geometry.
Single image or multiview?
With one photo, the AI has to guess everything it can't see. Tripo's multiview mode takes up to four fixed angles (front, left, right and back) and, in Tripo's words, "reconstructs surfaces from actual reference data instead of inferring them." Tripo notes that even front plus back improves the geometry significantly. Use it for asymmetric objects or detail on the back, such as a pet's markings or a backpack. It is a paid-plan feature.
When your only photo is messy
Make a clean reference image first: the same subject, alone, whole, on a plain background. Tripo has image generation built in (its pricing page lists Nano Banana on the free plan and more models on paid plans), or use any image generator. For a stylised collectible, this brief gives the image model what image-to-3D needs:
 Collectible Vinyl Toy prompt
An original designer vinyl collectible, a chunky fox astronaut with big glossy eyes inside a clear bubble helmet, wearing a matte pastel lilac spacesuit with iridescent buttons, standing on a round display base on a clean shelf like a limited-edition art toy. · Commercial Studio Product Photography · Camera: 100mm macro at f/4, tabletop height, shallow depth of field so the shelf melts away · Lighting: Large softbox key from front-left, white bounce fill, pastel lilac rim highlights on the helmet · designer art toy, chibi proportions, smooth 3D-printable shapes, matte vinyl and glossy resin materials, clean display base, collectible shelf aesthetic, ready for image-to-3D and printing --ar 4:5 --no thin fragile parts, floating pieces, blister pack text, brand logos, copyrighted characters, watermark, dusty, cluttered backgroundCustomise it in the free studio
Ask for chunky shapes: thicker limbs, a solid base, no loose hair strands, wires or antennae. Those look great on screen and snap off in plastic. Test prompt variations free in our prompt studio before spending credits.
How to turn an image into a 3D model in Tripo, step by step
These steps follow Tripo's feature pages and FAQ. Menu labels can change between updates, so look for the closest match if a name differs.
- Upload your image. Drop in one photo, or switch to multiview and add the front, side and back shots.
- Choose the high-detail model for printing. Tripo offers two kinds of mesh. Its High Detail Model goes up to 2 million polygons and is "optimized for rendering, visual art, and detailed 3D printing." Smart Mesh makes clean low-poly topology (500 to 50,000 triangles or 500 to 25,000 quads) for games. For a print, surface detail matters more, so go high detail.
- Inspect the result in Solid view. Tripo previews models in Solid, Textured, Normal, Sketch and Hologram modes. Textures hide problems; the plain solid view shows what your printer will actually make. Rotate it and look at the back, the underside and anything thin.
- Regenerate if the shape is wrong. If the back is mangled or parts have fused, crop tighter, add a back view or try again. Each attempt uses credits.
- Split it into parts (optional). For a figure with outstretched arms or a big overhang, Tripo suggests using Segmentation to split the model into printable components at three precision levels (Simple, Balanced, Detailed) before exporting, so you avoid supports on hidden faces.
- Export as 3MF or STL. Tripo exports USD, FBX, OBJ, STL, GLB and 3MF. In a hands-on test published in May 2026, All3DP found Tripo more accurate than Meshy and Hitem3D, and reported that the direct-to-slicer button sent STL only, which forced manual resizing; the smoother route was the regular Export button with 3MF selected.
If you'd rather animate the model for a game or AR than print it, our guide to turning one image into a rigged 3D character picks up from this point.
STL or 3MF: which file should you export?
Both open in every mainstream slicer, but they carry different information:
| STL | 3MF | |
|---|---|---|
| What's inside | A mesh of triangles, nothing else | Mesh plus units, colour, materials and print settings in one file |
| Real-world size | No units: a 10-unit cube could be 10 mm or 10 inches | A defined unit of scale |
| Colour from the texture | Lost on export | Can be kept for multi-colour printing |
| Best for | Print services and older tools that ask for STL | Your own slicer, multi-colour prints, archiving a finished project |
The STL details come from Tripo's format guide; the 3MF Consortium describes 3MF as having a "defined unit of scale and fully closed geometry", and it became an international standard (ISO/IEC 25422:2025) in 2025. Export 3MF for your own printer and STL when a print service asks for it. With STL, follow Tripo's tip and put the size in the filename, for example dog-figure-100mm.stl.
Is an AI 3D model print-ready? Six checks before you slice
Tripo's marketing calls its output print-ready with "no repairs needed", yet its own FAQ still tells you to check the model in your slicer before printing, "especially for very thin features or unusual overhangs." Its free STL repair tool says it most clearly: a watertight mesh "can still self-intersect, contain walls that are too thin, or be a poor orientation for your printer." So treat every AI mesh as a draft until it passes these six checks.
1. Set the real size first
Decide the printed height before anything else, because every other check depends on it. A 20 cm bust and a 4 cm keyring made from the same mesh are very different prints: details that hold up at 20 cm can disappear at 4 cm. Scale the model in your slicer, or use the scaling tools in Blender's 3D Print Toolbox, and confirm it fits your build plate.
2. Fix holes and non-manifold edges
A slicer needs a closed, solid volume to know what is inside and what is outside. If yours flags errors, you have three free options:
- Bambu Studio: right-click the object and choose Fix Model, or click the Repair link in the warning. On Windows 10 and 11 this uses Microsoft's repair through Netfabb. Bambu Lab notes the feature is Windows-only and that Studio "can only detect and repair some errors."
- Tripo's STL Repair runs in your browser with no upload or sign-in and takes one STL or 3MF file of up to 100 MB. It fixes duplicate and degenerate faces, flipped normals and eligible flat holes, deliberately leaves non-manifold edges and separate shells for you to review, and doesn't check self-intersections or thin walls.
- Blender's 3D Print Toolbox (a free extension for Blender 4.2 or newer) checks for bad geometry and fixes it with Make Manifold, and adds Hollow, align-to-bed and scale-to-fit tools.
3. Thicken anything thinner than your printer can make
Fingers, ears, tails, swords and hair strands are where AI meshes fail physically. Raise3D, a printer maker, recommends filament walls at least twice the nozzle diameter (0.8 mm or more with a standard 0.4 mm nozzle) and puts the typical resin minimum at 0.5 to 1 mm. If a part is thinner than that at your chosen size, scale the whole model up, thicken that part in Blender, or accept that it may break.
4. Give it a flat base
Image-to-3D often produces rounded feet or a curved underside. Slice off a flat bottom with the cut tool in Bambu Studio or PrusaSlicer, or align a face to the bed with Blender's toolbox, so the first layer has something to grip. A simple round plinth also makes small figures far more stable on the shelf.
5. Plan for overhangs and supports
Outstretched arms, chins and the underside of a pet's belly all hang in mid-air. Rotate the model so the biggest overhangs face upward, add supports where you can't avoid them, or split the model into parts (Tripo's Segmentation or your slicer's cut tool) and glue them together after printing.
6. Hollow resin prints and add drain holes
Prusa's documentation explains that objects sliced for its resin printers are completely solid by default. Hollowing saves resin and reduces the supports needed, and Prusa suggests "at least two drainage holes", because otherwise uncured resin ends up trapped inside the finished print. In PrusaSlicer the shell can't be thinner than 1 mm. Filament printers don't need this step; the infill setting does the same job.
Then slice and scrub through the layer preview: missing chunks or floating islands mean the mesh still has a problem, and that is cheaper to catch on screen than six hours into a print. Bambu Lab also warns that uneven, scan-like surfaces often print poorly with Arc Fitting enabled, so switch it off if your mesh looks lumpy.
Is Tripo free for 3D printing? What each plan allows
You can try the whole photo-to-STL workflow on the free plan, but read the limits before you print anything you plan to sell. This is how Tripo's pricing page lists the two plans most people compare, as checked on 6 November 2026:
| Free | Pro | |
|---|---|---|
| Monthly credits | 200 (Tripo estimates about 13 models) | 3,000 (about 200 models) |
| Exports | 15, from the H2.5 model only | Unlimited |
| Your models | Public, non-commercial use | Private, commercial use |
| Multiview to 3D | Not included | Included |
| Price | $0 | $20 per month billed annually, according to Tripo's pricing page; check the current price |
Two caveats. Tripo's pages describe free-plan rights differently (the pricing page says non-commercial use, the image-to-3D FAQ says public models under CC BY 4.0), so if you plan to sell prints or files, use a paid plan and check Tripo's terms. And Tripo says you are responsible for the copyright of your source images: your own dog is fine, a film character is not something you can sell on any plan.
When we checked, the pricing page also mentioned a 50% off first month offer for new users. Offers change, so confirm what's shown at checkout.
Thinking about selling what you print? Our guide to making money with 3D printing and AI covers what sells and the marketplace rules on AI-made models, and turning a selfie into an action figure walks through figures of people specifically. For other 3D tools, browse our tool index.
Reality check. One photo gives the AI half the information, so the back of your model is a guess. Expect to regenerate at least once, to fix or thicken something before slicing, and to lose a print or two to a failed support or a detail that was too thin. Textures don't carry over to a single-colour printer: you get grey or white plastic and paint it yourself. The model won't be dimensionally accurate, so don't use it for parts that have to fit. Tripo's marketing numbers, such as a "95%+" first-print success rate, are its own claims, not independent test results. And if you plan to sell prints, most beginners earn little or nothing at first; get a few good prints done before you think about pricing.
FAQ
Can you 3D print a picture?
Yes, in two ways. An image-to-3D tool such as Tripo turns a photo into a full 3D model you can print, and a lithophane generator turns it into a flat panel that shows the picture when lit from behind.
Is Tripo free for 3D printing?
You can generate and export on the free plan: 200 monthly credits and 15 exports from the H2.5 model, according to Tripo's pricing page. Free models are public and listed as non-commercial, so use a paid plan if you plan to sell.
Should I export STL or 3MF for 3D printing?
3MF for your own slicer, because it stores units, colour and settings in one file. STL when a print service asks for it; STL has no units, so set the size yourself.
Are AI-generated 3D models print-ready?
Often close, but check every one. A watertight mesh can still have walls that are too thin, no flat base or the wrong size. Run your slicer's repair, set the size and scrub through the layer preview.
Can I make an exact replacement part from a photo?
Not reliably. Image-to-3D infers the shape rather than measuring it. For parts that must fit, model them in CAD or scan the object.
Sources
- Tripo: Image to 3D model (features and FAQ)
- Tripo: Pricing and plan comparison
- Tripo: Free online STL repair
- Tripo: Choosing the best format for 3D printing, STL vs 3MF
- Tripo: AI for 3D printing
- All3DP: AI Image to Print-Ready 3MF, We Found Tripo Beats Meshy & Hitem3D for Accuracy (May 2026)
- Bambu Lab Wiki: Fix Model in Bambu Studio
- Prusa Knowledge Base: Hollowing
- Blender Extensions: 3D Print Toolbox
- 3MF Consortium: the 3MF file format
- Raise3D: Wall thickness in 3D printing